|
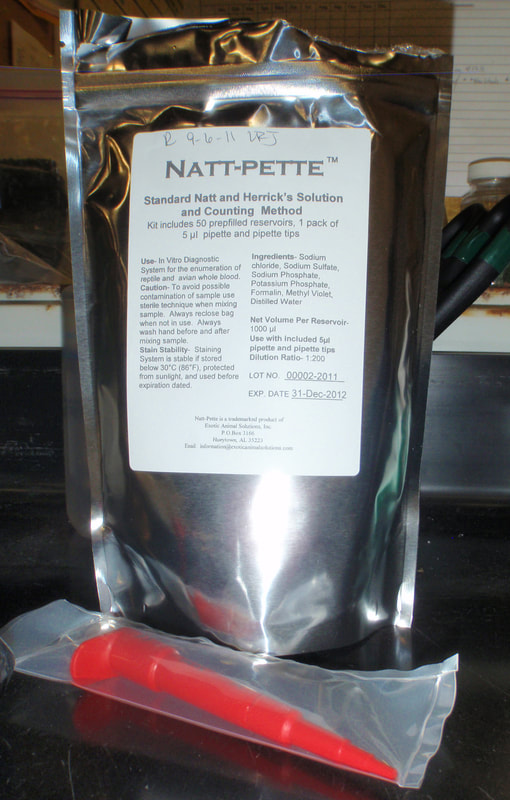
To perform a manual white blood cell count in an elasmobranch, Natt and Herrick's Solution is recommended for use along with a hemacytometer.
This Natt-Pette kit (Exotic Animal Solutions, Inc.) includes individual vials of Natt and Herrick's solution such that when 5 microliters of whole blood are added to the vial, there is a 1:200 dilution ratio of whole blood to NH solution. The kit also includes the 5 uL pipette and pipette tips. |
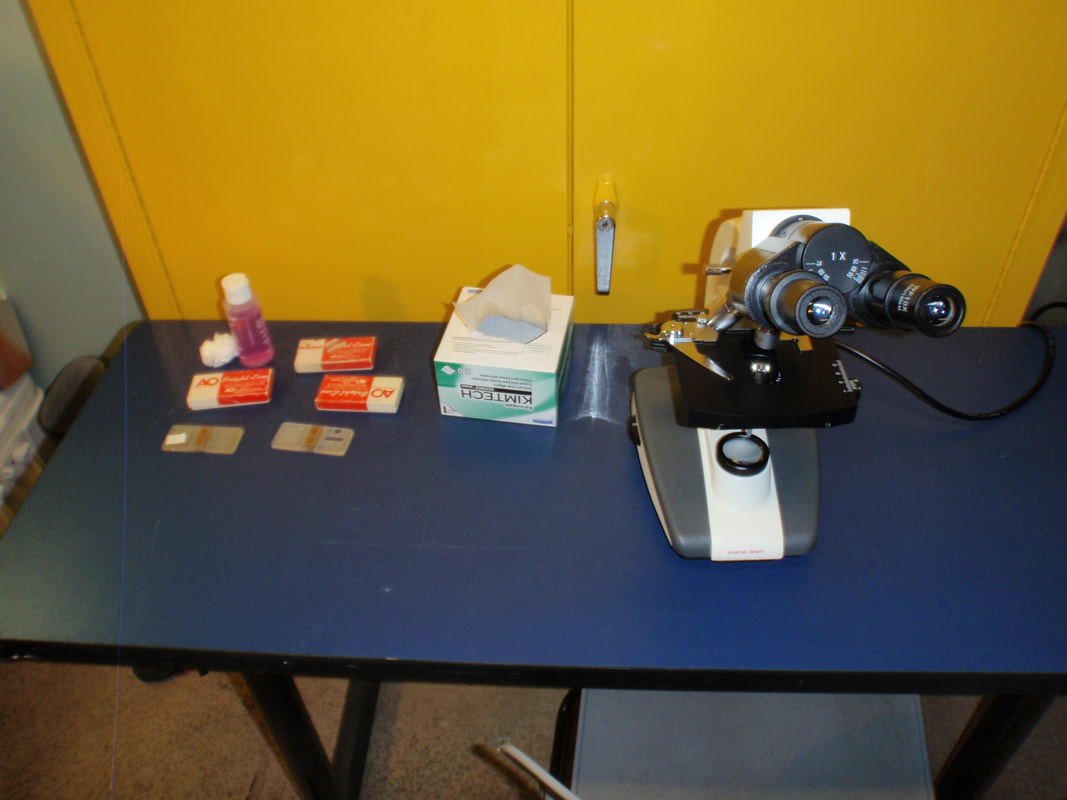
The materials needed in order to perform a manual leukocyte count include the previously mentioned Natt and Herrick's solution, hemacytometer, cover slip, lint-free wipe, lens cleaner, microscope, and counter.
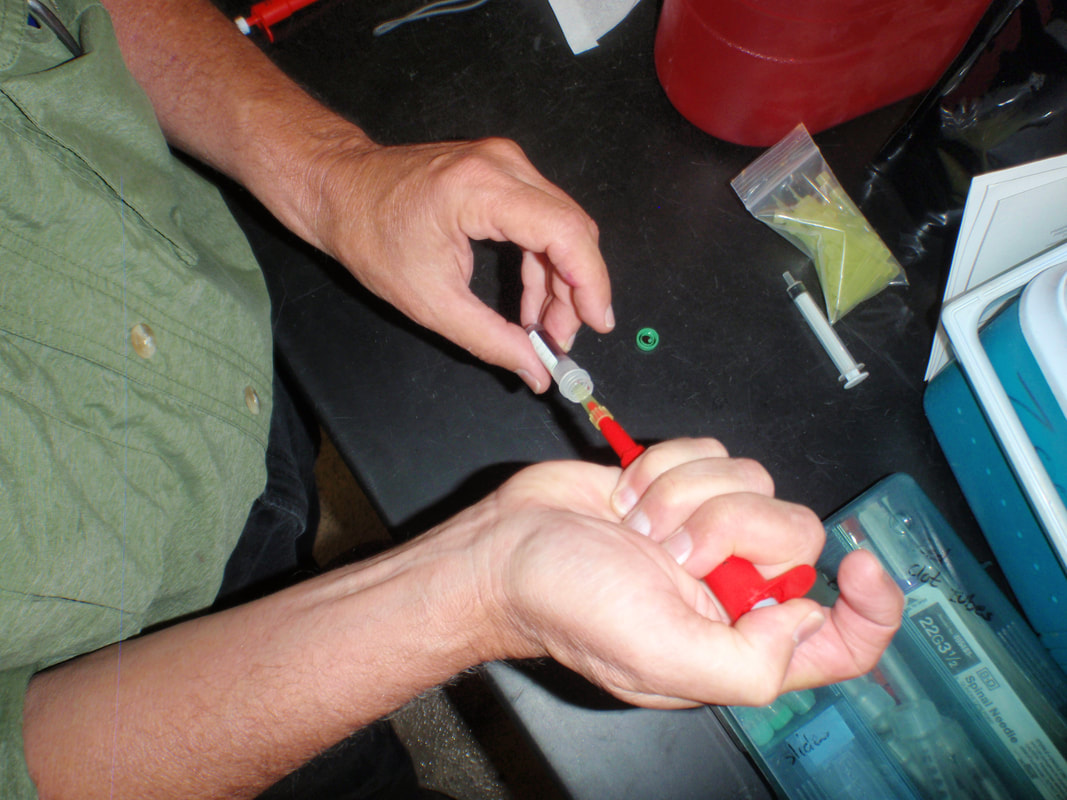
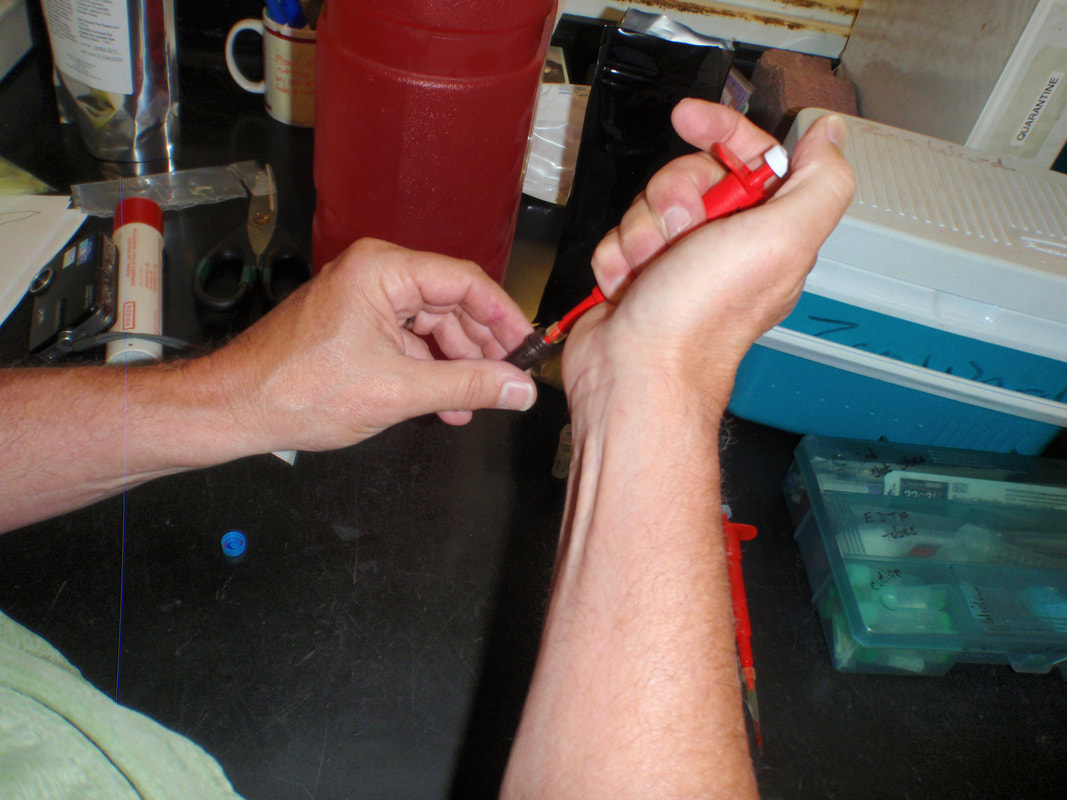
After collecting the blood in a lithium-heparin microtainer (green-topped container), withdraw five microliters using a specialized pipette that is included with the Natte-Pette kit.
|
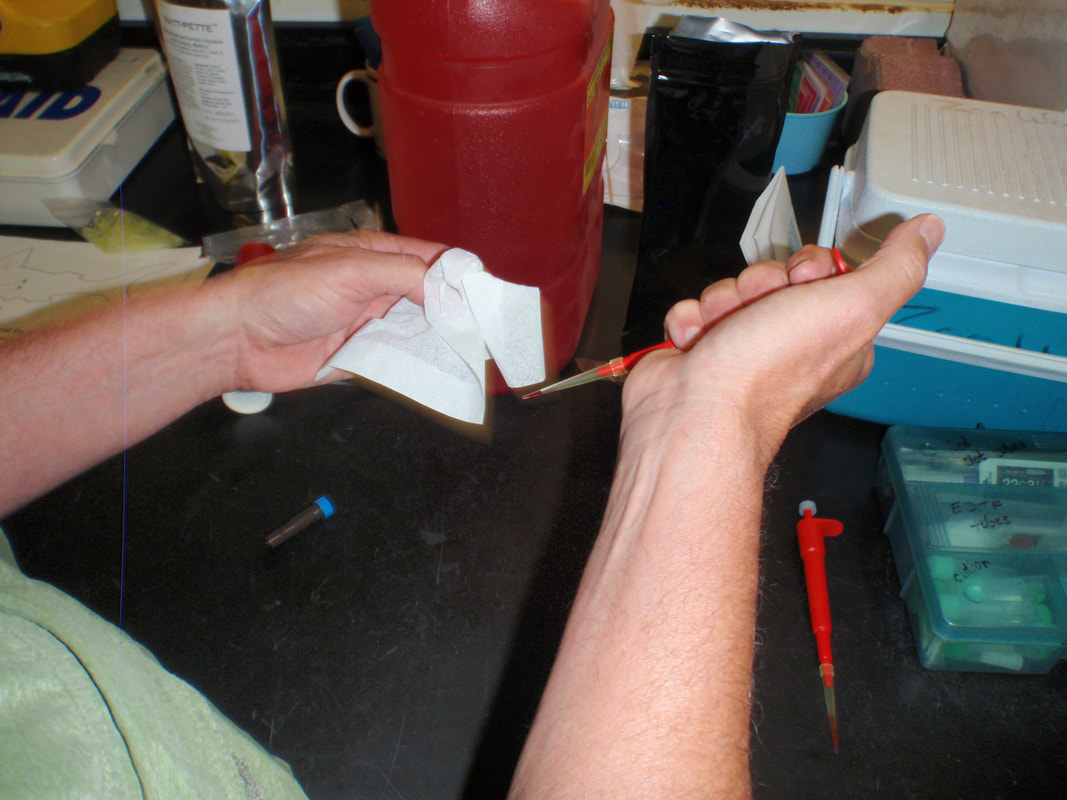
Using a lint-free, delicate task wiping tissue, carefully wipe the access blood from the pipette tip. This will allow the appropriate amount (5 uL) of blood to be mixed with the Natt-Herrick's solution for a proper mixing ratio of 1:200.
|
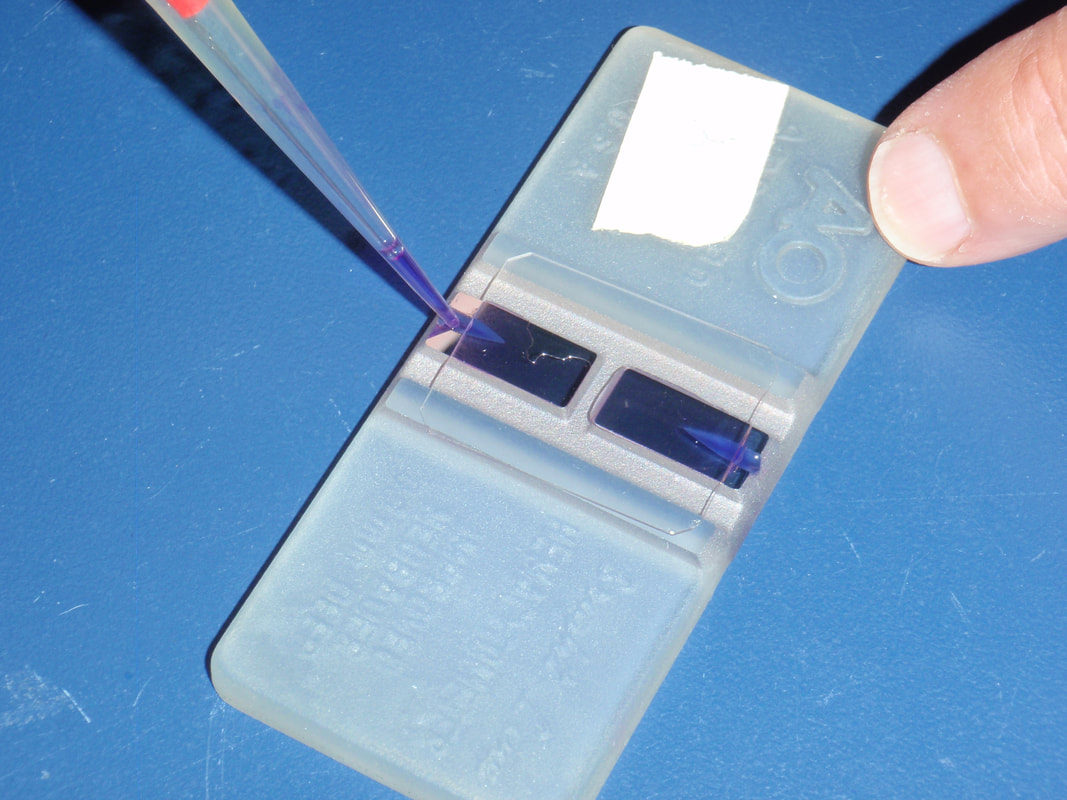
Finally, open the Natt-Herrick's solution contain and add the 5 uL of whole blood to it. Use the plunger on the pipette to mix the blood and solution together. Be sure to empty the pipette tip when mixing is complete. Allow the solution and blood mixture sit for 5-10 minutes.
|
To load the hemacytometer, place the cover slip so that both chambers are covered and leaving access to both wells. Collect the mixture of the Natt and Herrick's solution and whole blood using the pipette and fill each well until the chambers are full. Be careful not to overfill - apply the solution to the well until the solution reaches the edge of the chamber.
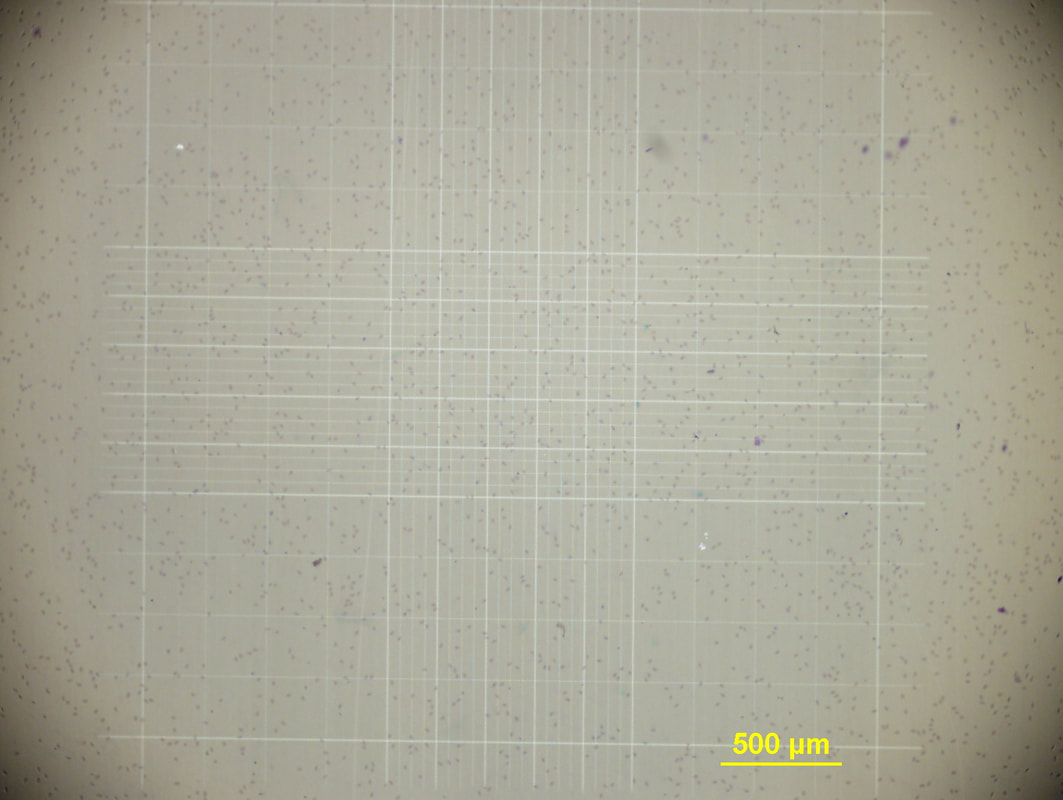
Once the hemacytometer is charged with the solution, position the hemacytometer on the microscope. Viewing the hemacytometer through low power (4X objective) should allow the operator to see the image above. The position and lighting can be adjusted for maximum cell visualization. The leukocytes in all 9 squares are counted on both chambers. Higher power (at least 10X objective) is used to perform the count.
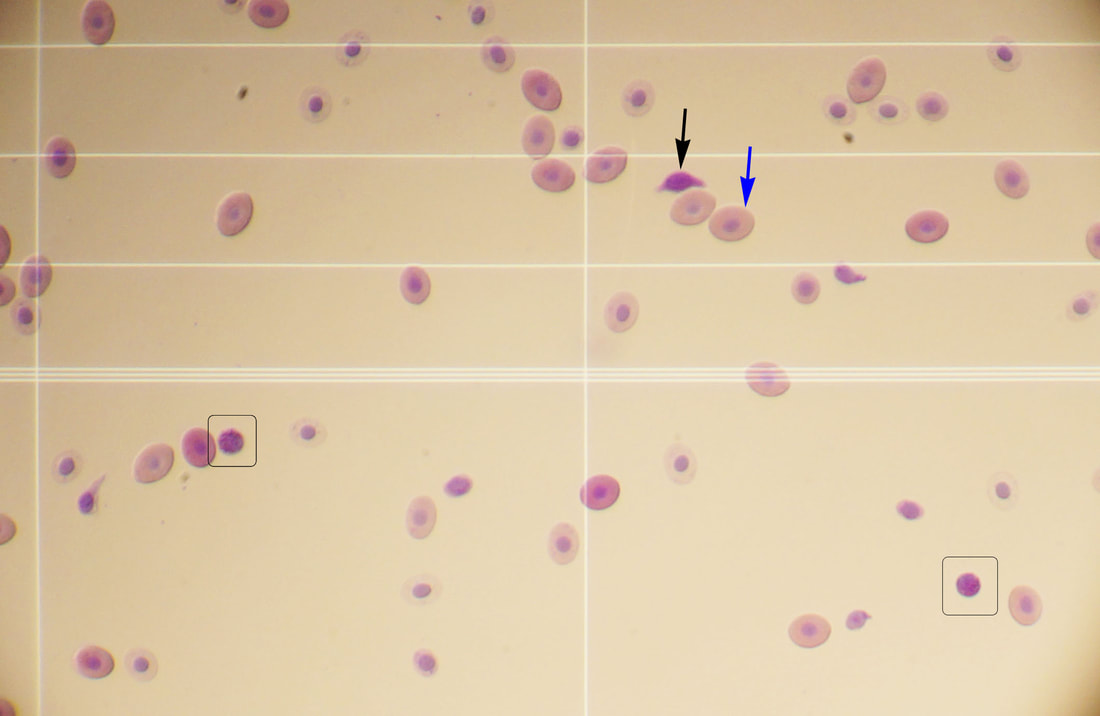
At higher power (using at least 10X objective) the leukocytes (rounded squares above) can be identified and counted. Before starting the count, decide which square will include the cell count for cells on the lines. For example, each square's count will include leukocytes that are within the entire square and any leukocytes on the lines to the left and on the top. Red blood cells (blue arrow above) should not be included in the total white blood cell count. If thrombocytes are counted here then they should also be counted when performing the differential so their portion of the sample can be subtracted from the total count (Hrubec and Smith, 2010)
Once the hemacytometer is loaded and ready for cell counts, follow these steps :
1. Count white blood cells in all 9 squares in both chambers
2. The difference between counts in both chambers should be less than a 10% difference; if it is greater than 10%, repeat the process.
3. Take the average count between the two chambers.
4. Use this equation to calculate the total leukocyte count:
Total WBC count (/uL) = (total count in 9 squares + 10%) x 200
For example, if your average count between the two chambers was 36 leukocytes, then the total leukocyte count would be:
Total WBC count = (36 + 3.6) x 200 = 7920 cells/uL
